The progress reports
Each week we update this page with new photos of instruments in progress. The updates will usually be sometime on Monday, which is the end of our work week.
We hope that you enjoy seeing the progress on your instrument and those of others who have them on order.
Week ending February 24, 2003
It was a busy week, and there are a lot of pictures - it's too late for me to turn it into 2 pages, so just be patient while it downloads. ;-)
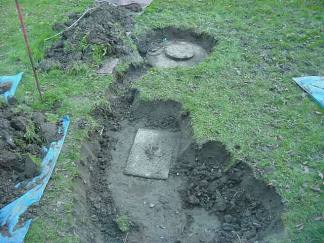
It seems that this is our year for digging holes and trenches: the pump on our our septic field malfunctioned, and we had to dig to uncover the septic tank and the pump tank. The diagram filed with the Health Department is not really specific about where these items were buried, so there were a few false starts. At least the tanks were shown on the correct side of the house. ;-)
LB4: the braces are fitted (one of those jobs that always takes way longer than it looks as if it should)
LB4: making one of the tapered soundposts
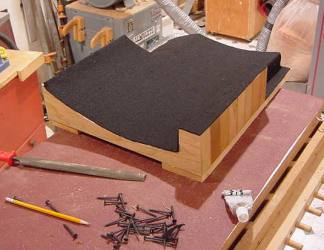
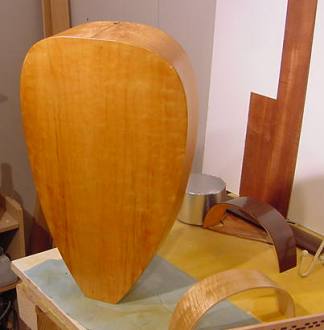
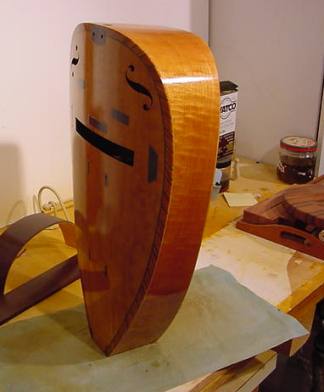
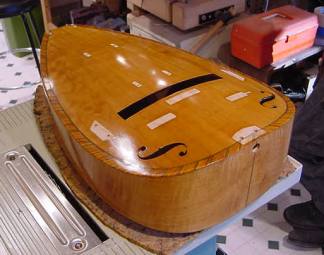
VG36: the unique shape of the body required making a new jig to hold it upright for masking
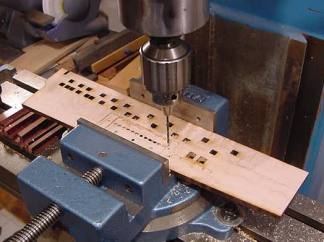
VG36: drilling for the screws that hold in the printed circuit board for the tuner. This is a somewhat daunting operation, as it needs to be drilled to just barely miss going through - there's less than 2 mm of wood left. One wrong move and the keybox would need to be made again.
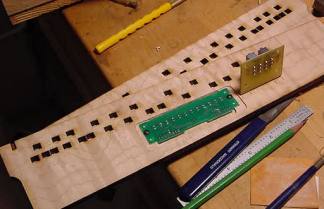
VG36: fitting the circuit boards to the keybox side
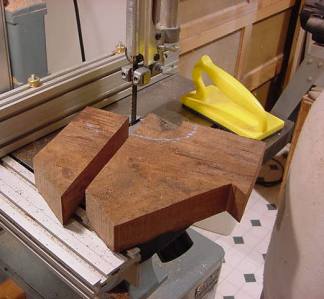
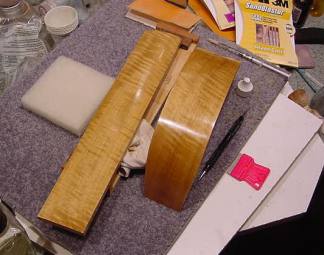
VG36: bandsawing the blanks for the tailpiece
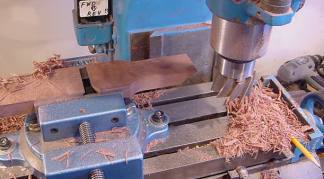
VG36: milling the tailpiece blanks with a big shell mill
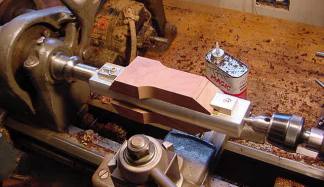
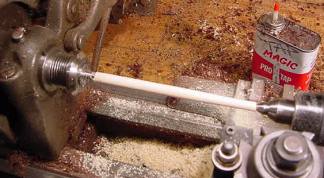
VG36: the blanks mounted on the lathe fixture for turning. Only one blank will be used, but the fixture needs to be balanced.
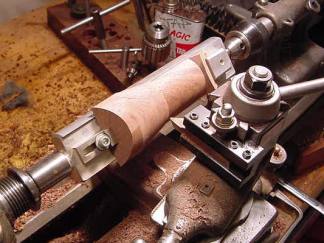
VG36: turning the wider head end to a taper

VG36: another new jig, this one to align the keybox with the tailpiece for masking and gluing
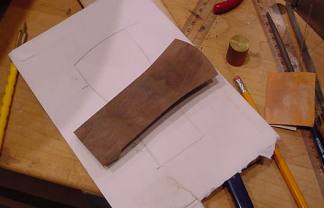
VG36: one of the tailpiece blanks after shaping - if this one is cut too short, the second blank will be used on the instrument
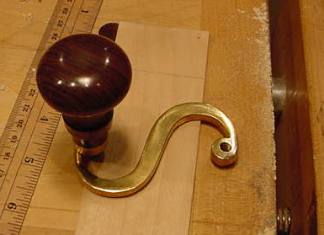
VG37: the finished crank and handle assembly
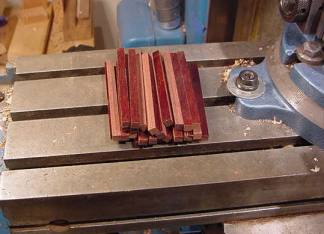
VG37: the key stock ready for drilling
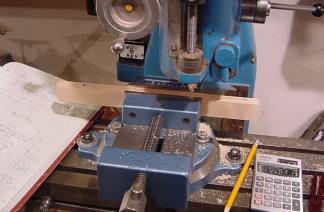
VG37: milling the keyfront stock for the Bleton-style keys
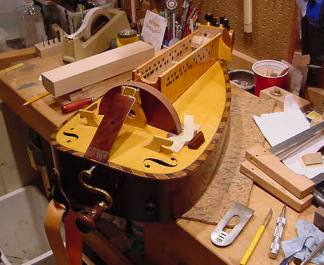
VG37: the chanters are on and the wheel is being scraped
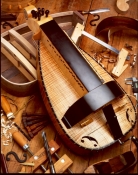
VG39: the first coat of shellac is put on
VG39: hand-finishing the keybox top and wheel cover
VG39: with more coats of finish, the color and depth of figure intensify
VG39: the masking is removed
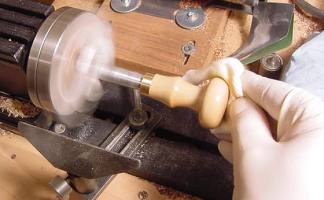
VG39: finishing the completed handle with a friction polish
VG39: the keybox is glued on, and the tailpiece, and the bridges, and the strap buttons are in
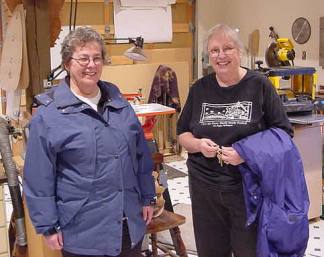
Joan (right) and Pat (left) came by to pick up Joan's instrument.
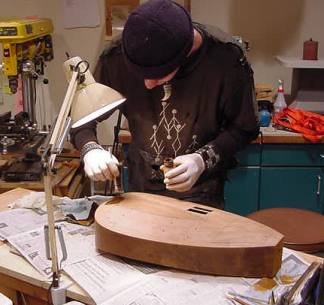
Justin's VG: Justin is applying a filler coat before finishing the body
Justin's VG: laser cutting and etching the holes for the electronics controls
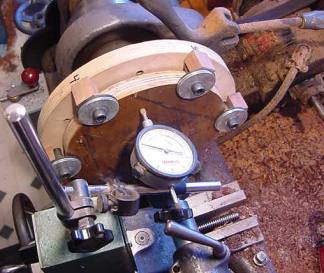
The Pajot: mounting the wheel on the faceplate

The Pajot: the wheel insert is epoxied in and is drying
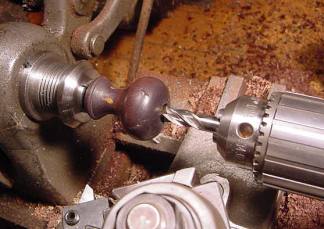
The Colson: countersinking the handle for the new handle shaft
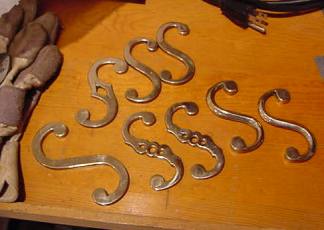
Part of a shipment of cranks arrives from the foundry
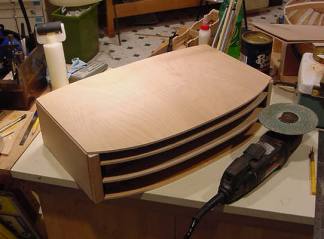
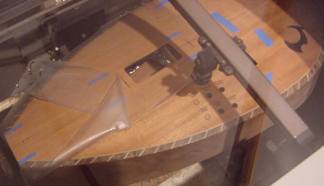
RTDWHG: Justin is making something odd from some plans I drew. A small bookshelf perhaps?
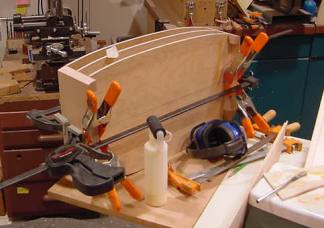
RTDWHG: gluing the end pieces
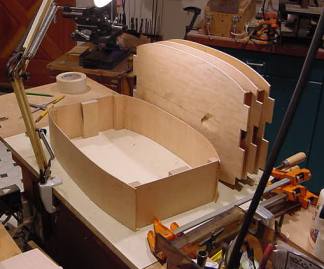
RTDWHG: OK, so it's not a bookshelf. A corral for very small horses?
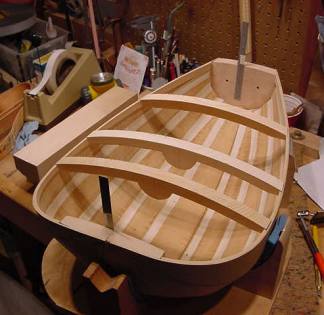
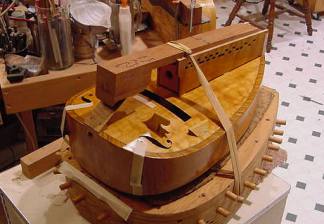
RTDWHG: it's either a donut-shaped stegosaurus or a pregnant guitar...
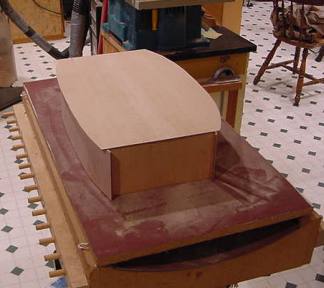
RTDWHG: guess we can eliminate the stegosaurus
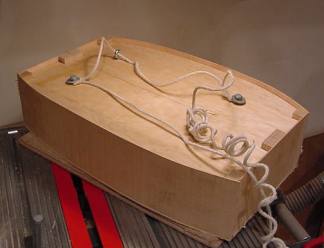
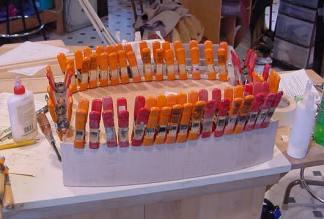
RTDWHG: now it's starting to look like a porch swing...
See other weeks for more pictures.
Please contact us if you have comments or questions about this page or other pages on this site.
Alden and Cali Hackmann
Olympic Musical Instruments
Beati illi qui in circulum circumeunt, fient enim magnae rotae.
© Copyright 2000, 2005, Olympic Musical Instruments.
Please ask for permission to use material from this site. Thank you.